

Settings
All of the plugin-wide options live in the Settings section, split into tabs down the side: License Key, Integrations, Performance, Advanced Controls, Tools and Additional CSS & JS.
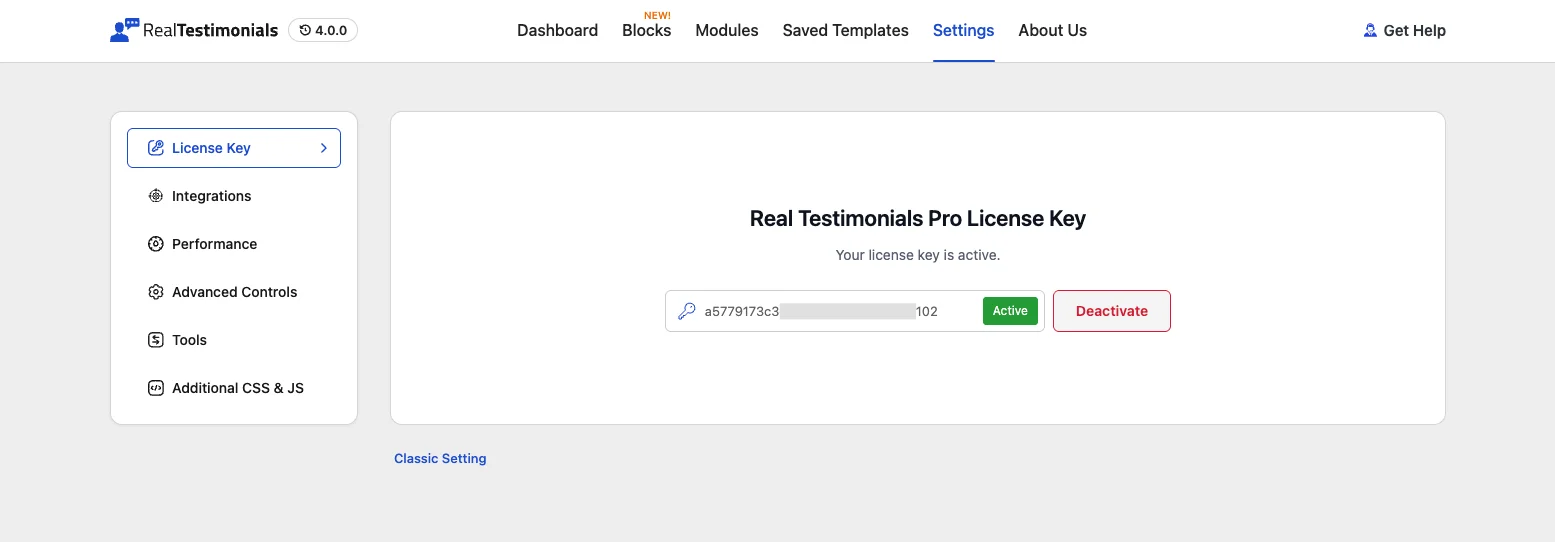
Opening Settings
- Open the dashboard from Real Testimonials → Getting Started (or click the Settings submenu to land here directly).
- Click Settings in the navigation.
- Choose a tab from the settings sidebar. Each tab has its own URL (for example
#settings=performance), so you can bookmark the one you use most.
Remember to save
The Performance, Advanced Controls and Additional CSS & JS tabs have Save Change and Reset buttons at the bottom — changes there apply only after you save. Reset asks you to confirm, then puts that tab back to its defaults. License, Integrations and Tools act immediately.
License Key
Activating your Pro license unlocks automatic updates and support — do this right away.
- Enter your key in the Place Your License Key field.
- Click Activate License.
- On success, the tab shows an Active status pill.
To move the license to another site, click Deactivate to release it first. If your license has expired, the tab tells you the expiry date so you can renew.
Integrations
See Integrations for AI (Google Gemini) and page-builder connections.
Performance
| Option | What it does |
|---|---|
| Google Fonts | Whether the plugin loads Google Fonts on your site (off by default). Leave it off if your theme already provides the fonts you use, or you want to avoid the extra requests. |
| Load Modal by Rest API | Fetch popup content in the background so popups feel quicker to open (on by default). |
| Cache | Save a ready-made copy of your testimonials so repeat visits load faster (off by default). |
| Clear Cached | Click the Flush Cache button to clear all cached data and styles. Use this if blocks look stale after changes. |
Advanced Controls
| Option | What it does |
|---|---|
| Default Editor | Choose which editor opens when creating a testimonial view: Ask Every Time (the default), Block Editor, or Classic Shortcode. |
| Exclude from Search | Keep testimonial posts out of your site's internal search results. On by default. |
| Clean-up Data on Deletion | Delete all plugin data (testimonials, views, settings) when the plugin is uninstalled. Off by default — only enable if you're certain. |
| Single Testimonial Template | Enable a dedicated template for individual testimonial pages (when viewing a single testimonial). |
| Strict Random | Random ordering has a quirk: the same testimonial can reappear when a visitor clicks load-more or moves to the next page, because each request shuffles again. Turn this on and duplicates are filtered out. |
Data removal is permanent
Clean-up Data on Deletion removes everything when you delete the plugin. Export a backup first (see Tools).
Tools
Moving to a new site, or setting up a staging copy? The Tools tab moves testimonials, views, and settings between sites.
This tab only appears while the Export/Import Testimonials module is on. For the full walkthrough — the CSV column list, image handling, and the right order to import a whole site — see Export/Import Testimonials.
Export
Choose what to export:
| Option | Exports |
|---|---|
| All Testimonials | Every testimonial with all meta fields. |
| All Testimonial Views (Shortcodes) | Every saved View. |
| All Testimonial Forms (Shortcodes) | Every submission form. |
| Selected Testimonial Views (Shortcodes) | Only the Views you choose from a multi-select list. |
| Selected Testimonial Forms (Shortcodes) | Only the Forms you choose from a multi-select list. |
For All Testimonials, choose your file format:
- JSON File — Full data, recommended for migrations.
- CSV File — Spreadsheet-compatible, flat structure.
Click Export File to download — the file is named testimonial-pro-export-<timestamp>.json (or .csv), so exports from different days don't overwrite each other.
Import
Import a previously exported file to this site (the section is labeled Import JSON/CSV File To Upload):
- Drag and drop a JSON or CSV file into the upload zone, or click Choose File.
- Click Apply Input to process.
The importer creates new testimonials, views, or forms from the file data, then drops you on the matching list screen so you can check the result.
Imports don't merge
Importing creates new entries. If the same items already exist, you may get duplicates. Clean up before importing.
Additional CSS & JS
This tab gives you two code editors, Custom CSS and Custom JS, for site-wide snippets that load alongside the plugin's blocks. Good for small styling tweaks when you'd rather not touch your theme files.
The classic settings screen
Below the settings tabs, a Classic Setting link opens the legacy options screen. Most day-to-day options are on the dashboard tabs above, but a few features live only here:
| Section | What's inside |
|---|---|
| Custom Menu | Rename the plugin's admin labels — the singular and plural names for "Testimonial" and "Group". If your site calls them "Reviews" and "Categories" instead, set that here and the admin menu and edit screens pick up your names everywhere. |
| Advanced | Classic counterparts of the dashboard's Performance and Advanced Controls (data clean-up, Google Fonts, cache, single template, strict random, exclude from search), plus two extras: Cache Time (how long cached output lives, in hours — 24 by default, shown once Cache is on) and Content Alignment (left/center/right) for the single testimonial template. |
| Control Assets | Individual toggles for the plugin's CSS and JS files: Swiper, bxSlider, Font Awesome, Magnific Popup and Isotope. If your theme already loads one of these libraries, switch off the duplicate here. |
| Custom CSS & JS | The classic version of the code editors. The dashboard's Additional CSS & JS tab edits the same values. |
The classic screen also has its own License section, used by the shortcode-based system.